So you’ve decided to use pop-up forms on your website. Great choice! Pop-up forms are an excellent way to engage visitors and collect leads. In this guide, we’ll walk you through how to connect your website with SENDCOOP to display these pop-up forms.
Prerequisites #
- A website (WordPress, Wix, or custom HTML)
- SENDCOOP account
Step 1: Get the JavaScript Code from SENDCOOP #
- Log in to your SENDCOOP account.
- Navigate to the Lists section.
- Look for an option to create Form/Pop-up.
- Enter your website URL to generate a JavaScript code.

This JavaScript code will be used to connect your website with SENDCOOP. Copy this code for the next step.
Step 2: Install the Code on Your Website #
For WordPress Users: #
- Go to your WordPress dashboard.
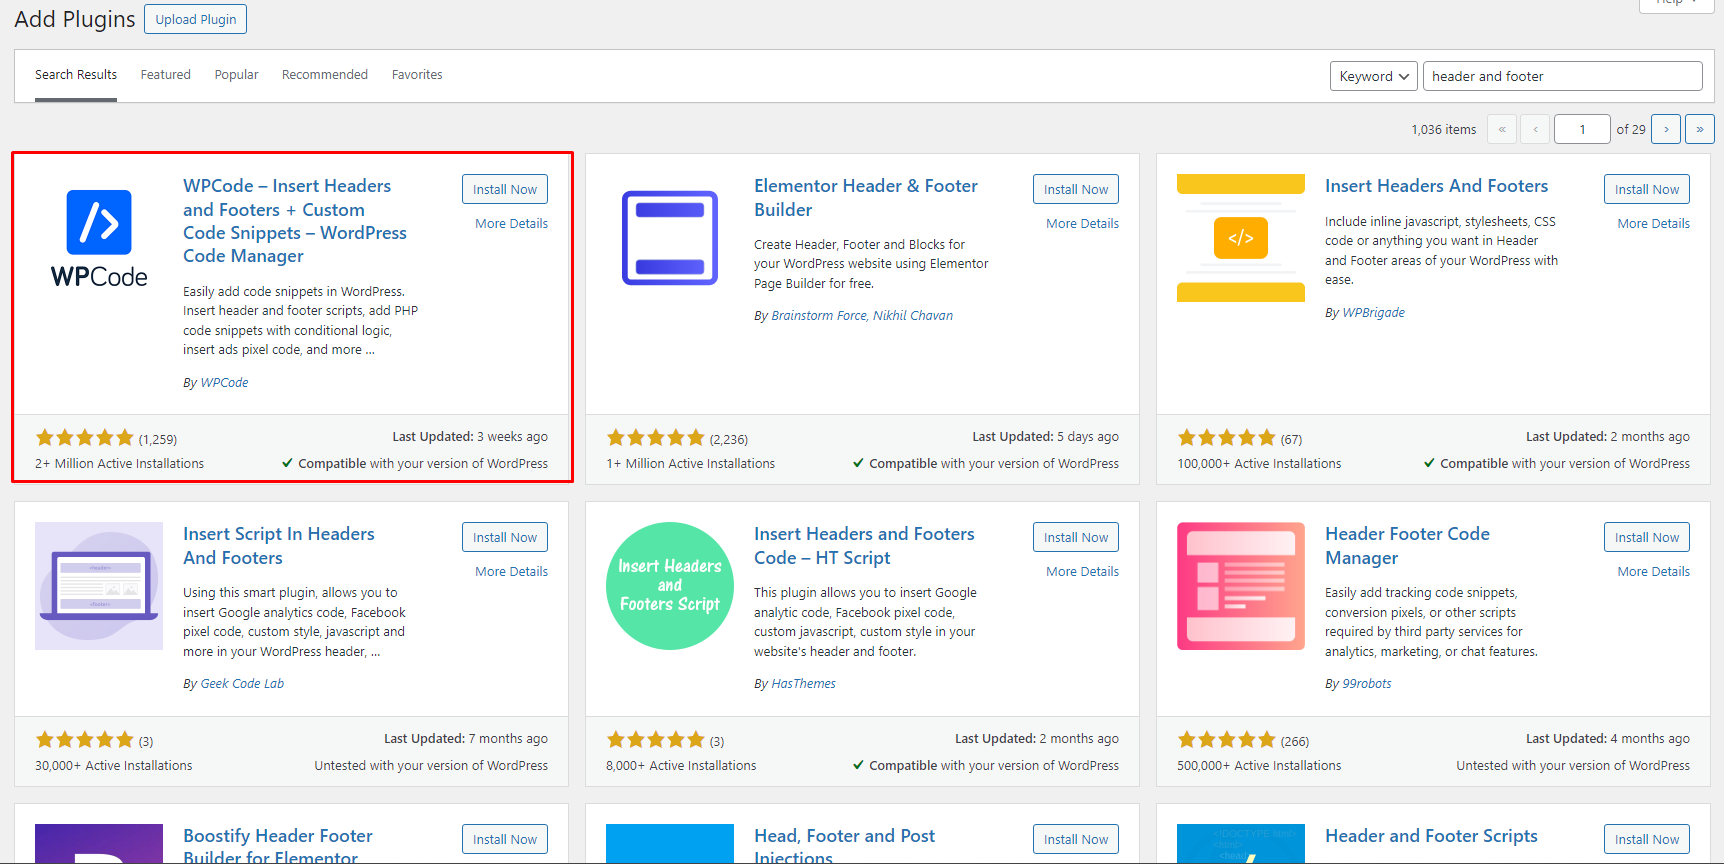
- Navigate to Plugins and search for “Headers and Footers.”

- Install a plugin that allows you to insert code into headers and footers. Any plugin will do; they all work similarly.
- After installing, go to the plugin settings.
- Paste the copied JavaScript code into the footer section.
For Other Websites: #
- If you’re using Wix or a custom HTML website, simply paste the JavaScript code into the header or footer of your site.
Step 3: Verify the Connection #
- Go back to your SENDCOOP account.
- Refresh the page where you generated the JavaScript code.
- Check if the website is now connected.
If everything is set up correctly, your website should now be connected to SENDCOOP . You can now add your subscription pop-up forms!
Next Steps #
- To create and manage your pop-up forms, go back to the Forms section in SENDCOOP .
- Follow the tutorials available there to create your forms and display them on your website.
Conclusion #
Connecting your website to SENDCOOP is a straightforward process. Once connected, you can easily manage and display pop-up forms to engage your visitors. So go ahead, connect your website and start collecting those valuable leads!
Feel free to copy and paste this article into WordPress. Happy connecting!


