Table of Contents
Looking to grow your email list quickly? Importing subscribers in bulk from a CSV file is a seamless way to achieve this. Let’s dive into how you can do this using SENDCOOP.

Step-by-Step Guide: #
- Access Your Desired List:
- Start by navigating to the list in which you want to import the contacts.
- Understand the Columns:
- By default, SENDCOOP provides columns such as email, first name, and last name.
- If you’re creating a spreadsheet, ensure it contains these three columns at the very least.
- Add More Columns (Optional):
- SENDCOOP isn’t limited to just the default columns.
- Navigate to ‘Manage List Field’.
- Here, you can add more columns like age, gender, country, or industry.
- Remember, if you’ve marked a column as ‘required’, ensure it’s present in your CSV file.
- Prepare Your CSV File:
- For instance, your CSV might have columns like email, first name, last name, age, gender, industry, and country.
- Ensure the column names in your CSV match the ones you’ve added in SENDCOOP.
- Importing the CSV:
- Head back to SENDCOOP and navigate to ‘Subscribers’.
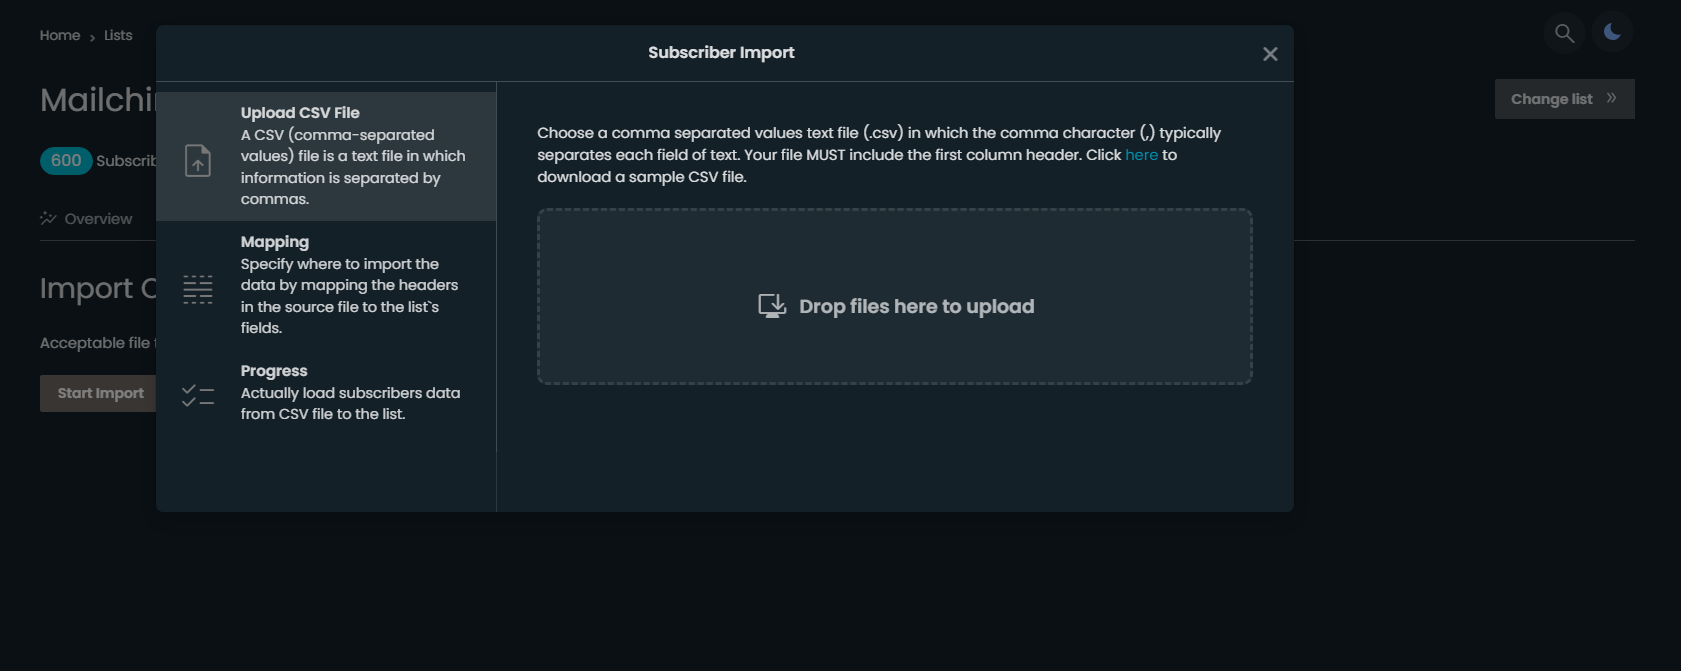
- Click on the ‘Import’ button.
- Drag and drop your CSV file or click on ‘Choose File’ to select your CSV.
- Once selected, click on ‘Import’ and wait for the process to complete.
- Verify the Import:
- After importing, navigate to ‘View All Subscribers’.
- You should see all the subscribers you’ve just added.
- Clicking on any subscriber will display all their details, including the additional columns you added.
And that’s it! You’ve successfully imported subscribers in bulk using a CSV file into SENDCOOP. If you have any questions or run into any issues, don’t hesitate to reach out for assistance. Happy emailing!


